- 28
- Dec
Why do high-frequency quenching equipment need to be debugged?
Why do high-frequency quenching equipment need to be debugged?
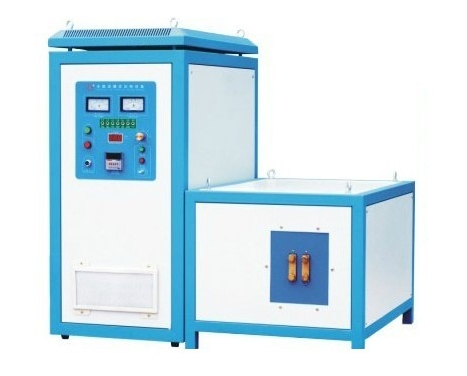
In order to ensure the quality of high-frequency quenching equipment, each equipment will be installed and debugged, and the manual and related materials will be attached, packaged in the box and out of the warehouse, and then sent to all parts of the country. The information of each equipment is available for investigation. Welcome to visit our company.
Why do high-frequency hardening equipment need to be loaded for testing?
When there is no load, the inductance will change immediately after the load is placed in the data obtained by the power-on test. At this time, the data obtained by the high-frequency quenching equipment test is very different from the no-load time, and the strategy is also inconsistent. In order to ensure the accuracy of the equipment data Therefore, high-frequency hardening equipment must be loaded and tested.
As long as the polishing is done well, the hardened layer can be clearly seen after polishing. Some materials are sandblasted after intermediate frequency quenching, and then cleaned with tap water, and the effective hardened layer can be cleaned out. It can of course be seen after corrosion with 4% nitric acid alcohol solution.
If the part is small, it is not fixing the part. We clamp the parts with pliers and place them in the corresponding position of the induction loop. Rely on manual operation, feel that the temperature is OK, and perform the quenching operation by yourself. Most parts do not have a hardened layer depth requirement, and very few parts require it. The depth of the hardened layer is 0.5mm~1mm. Therefore, the hardened layer of each part may be different for manual operation. The shape is a bit special, it can only be measured by the hardened layer of the test block.
In addition, according to the national standard GB/T5617-2005, the ultimate hardness is 80% of the minimum required hardness of the part. My understanding only specifies the concept of ultimate hardness, and does not indicate that 80% of the minimum hardness is the depth of the hardened layer.
Understanding of GB/T5617-2005: Measure from the surface to 80% of the lower limit of the hardness required by the drawing. For example, if the hardness requirement is HRC58—61, it should be measured to 80% of HRC58.
The lower limit of the surface hardness must first be converted to Vickers hardness, that is, the limit hardness=lower limit hardness×0.80=664HV×0.80=531HV, that is, the effective hardened layer depth of this product after induction hardening is from the surface to the hardening Layer hardness to actual depth at 531HV. If it is the final quality inspection and arbitration, it must be the hardness method.

